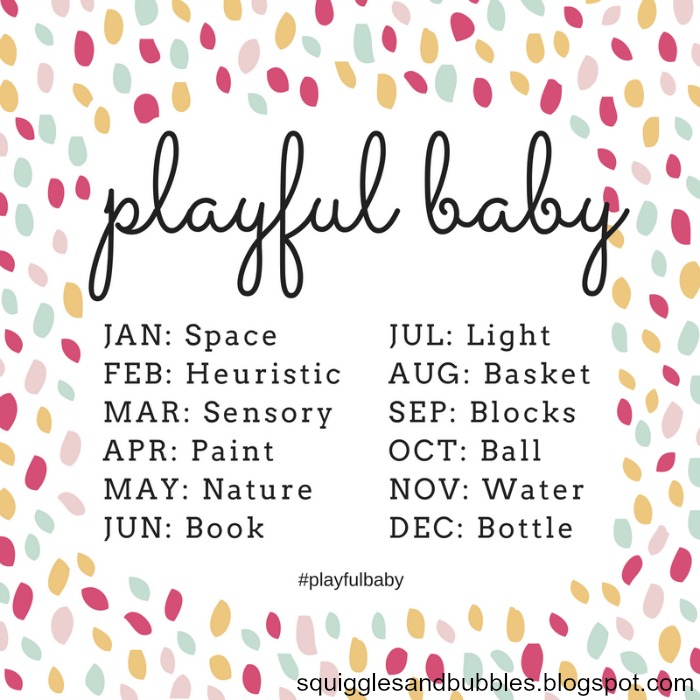
Welcome back to another post in our Playful Baby series! This year we are hosting a new series about none
other than
baby play! From
playspaces to
heuristic play and even
paint…
we want you to feel comfortable playing with your baby. By the
end of the next 12 months you will have an arsenal of baby play ideas!
You will have the knowledge and
understanding to continue learning and growing with your baby through
play. This month we are sharing block play ideas!
We love block play here-it's one of those timeless, ageless activities that all three girls can enjoy together.
When
I was pregnant with JB the girls had a bookcase in their playspace
dedicated solely to blocks. Our block space was heavily inspired by
An Everyday Story so if you're after inspiration I highly recommend you
jump over and have a look.
I wanted to make something
special for the girls construction area and also something that JB could
enjoy once she was born. So, we created some photo blocks. The older
girls could use them in their play and JB could use them as she
discovered faces and learnt about her family members.
I
searched for ages for a method to transfer images to wood but never
found one I was capable of or could find all the ingredients, so made up
our own method, similar to those I'd looked at but using what we had in
the house.
I never intended blogging about the photo
blocks so I don't have any process photos however the technique I used
for the photo blocks is the same I used recently to add features to a
little owl Numnt made for our niece, so allow me to share those pictures
with you.
What you need:
Black and white digital image
Printer (Ours is a Canon Pixma)
Printer Paper
Baking Paper
Scissors
Glue stick
Credit Card
Wood that you want to transfer your image on to
Olive Oil Spray
WARNING!!!
Before
I give you any directions, I do need to warn you: I have had baking
paper stick and get caught in my printer using this method! There is a
chance you may wreck your printer. Proceed at own risk!
The how to:
1.
Cut your baking paper to fit the piece of printer paper. Make sure
there's no paper over hanging. Use the glue stick to glue the baking
paper to the printer paper-make sure you glue those edges well! (If
paper over hangs or you don't glue it well there's a high chance it will
catch in the printer).
2. Bring up your image on the
computer. Set your properties so the printer prints at it's best setting
ie the one that uses the most ink.
4. As soon as the
image prints, peel the baking paper off the printer paper, lay it on
your wood (ink side on the wood) and scrape the credit card accross the
paper. Make sure to keep your image in place, if it moves so will the
ink and your picture will smudge.
5. Allow ink to dry for a day and then seal by spraying lightly with olive oil. Clean excess oil off with a clean, dry cloth.
.

There's no giveaway this month but we hope you will still share how your baby plays with blocks on
Instagram (#playfulbabychallenge @squigglesandbubbles @loving_naturally
@squishelsandme @mummy_loz @xoxo_beautiful_chaos_xoxo) or on
Squiggles and Bubbles' Facebook Page.
If you liked this you may also like Nothing Out of Reach. Just click the picture to read all about it!
Please always supervise your
infant/child at play. Please stay within arms reach and never leave
infants/children unattended. You know you're infant/child best, use
your own judgement-considering your infant/child's temperament, habits,
behaviour and development before you play with a new play medium.


No comments:
Post a Comment